cutting board plans pdf
Summary
Download free cutting board plans PDF. Easy DIY woodworking projects for your kitchen. Get started now!
Welcome to our comprehensive guide on cutting board plans in PDF format. Discover a wide range of free and detailed designs‚ perfect for both beginners and experienced woodworkers. From simple to intricate patterns‚ these plans will help you create durable‚ functional‚ and visually appealing cutting boards to enhance your kitchen. Whether you’re looking for end-grain‚ edge-grain‚ or 3D designs‚ these PDF resources provide step-by-step instructions to bring your woodworking projects to life with ease and creativity.
Overview of Cutting Board Designs and Plans
Cutting board designs and plans offer a diverse range of options for woodworkers of all skill levels. From simple‚ functional boards to intricate 3D patterns‚ these plans cater to various preferences and needs. End-grain‚ edge-grain‚ and face-grain designs are popular‚ each with unique benefits. Many free PDF plans include step-by-step instructions‚ material lists‚ and tips for creating durable‚ food-safe surfaces. Whether you’re crafting a basic kitchen essential or a decorative serving tray‚ these designs provide inspiration and guidance. With options to mix wood types and add personalized touches‚ cutting board plans make woodworking accessible and rewarding for everyone.
Materials and Tools Required for Cutting Board Projects
Essential materials include durable hardwoods like maple or walnut‚ food-safe glue‚ and mineral oil for finishing. Tools such as table saws‚ drills‚ clamps‚ and sanders are also necessary.
Choosing the Right Wood for Your Cutting Board
Selecting the right wood is crucial for durability and safety. Opt for hardwoods like maple‚ walnut‚ or cherry‚ known for their closed grain structure‚ which prevents food particles from embedding. Avoid open-grain woods like oak‚ as they can harbor bacteria. Consider mixing wood types for unique patterns and visual appeal. Ensure all materials are food-safe and free from harmful chemicals. Properly dry and prepare the wood to prevent warping. Using the right wood ensures your cutting board is both functional and long-lasting‚ making it a valuable addition to any kitchen.
Essential Tools for Building a Cutting Board
To build a cutting board‚ you’ll need a table saw for cutting wood to size‚ a planer to ensure even thickness‚ and a sander for smoothing surfaces. A drill is handy for pre-drilling holes‚ while clamps are essential for gluing and holding pieces together. A router can add decorative edges‚ and sandpaper is crucial for finishing. Safety gear like gloves and goggles is a must. Having the right tools ensures precision‚ safety‚ and a professional finish. These tools will help you transform raw wood into a functional and beautiful cutting board for your kitchen.
Design Considerations for Cutting Boards
Designing a cutting board involves choosing the right wood type‚ grain orientation‚ and size. Consider functionality‚ aesthetics‚ and durability to create a practical yet stylish kitchen tool that lasts. Use food-safe finishes to protect the wood and ensure easy maintenance for years of reliable service.

End Grain vs. Edge Grain Cutting Boards
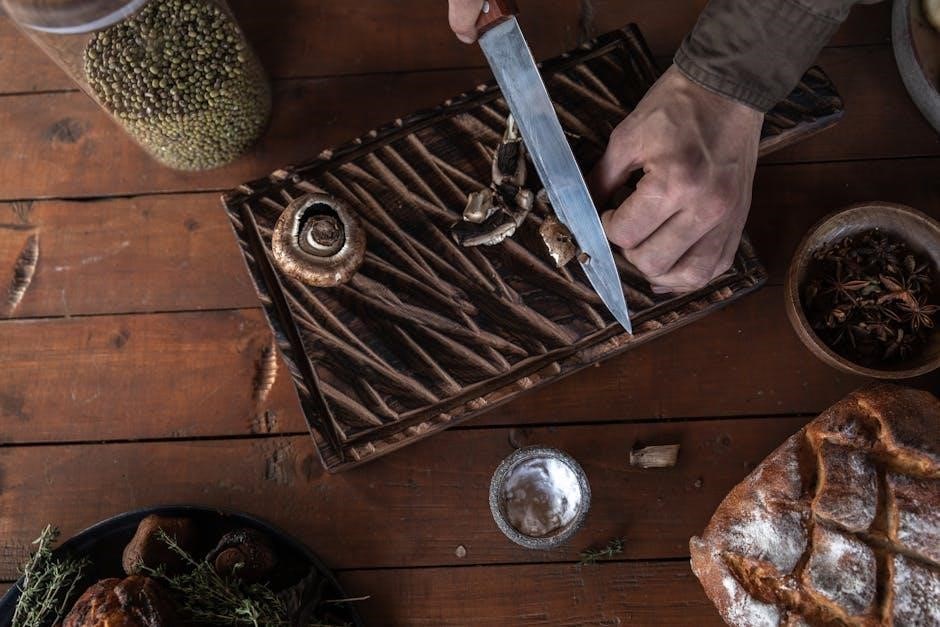
When designing a cutting board‚ understanding the difference between end grain and edge grain constructions is crucial. End grain cutting boards are made by arranging wood pieces so the grain ends face upward‚ creating a durable‚ self-healing surface resistant to knife marks. This method is ideal for heavy use and offers a classic‚ professional look. Edge grain boards‚ on the other hand‚ have wood pieces aligned with the grain running horizontally‚ making them less expensive and easier to construct. While they are still functional‚ they may show more wear over time. Choosing the right grain orientation depends on your needs for durability‚ cost‚ and aesthetic appeal. Closed-grain wood species‚ like maple‚ are recommended for both types to prevent food from embedding in the surface.

3D and Intricate Cutting Board Patterns
For those seeking a creative challenge‚ 3D and intricate cutting board patterns offer a unique way to elevate your woodworking skills. These designs‚ often featuring geometric shapes or layered wood arrangements‚ add visual appeal to your cutting boards. Patterns like the 3D tumbling block design create a striking optical illusion‚ making your project stand out. Intricate designs allow for artistic expression‚ combining multiple wood species for contrasting colors and textures. Free PDF plans and SketchUp models are available online‚ providing detailed guidance for crafting these complex yet rewarding designs. These patterns transform cutting boards into functional art pieces‚ perfect for gifting or adding a personal touch to your kitchen.
Step-by-Step Construction Process
Learn how to build a cutting board with detailed guides‚ from preparing materials to final assembly. Follow clear instructions for a smooth‚ successful project completion.
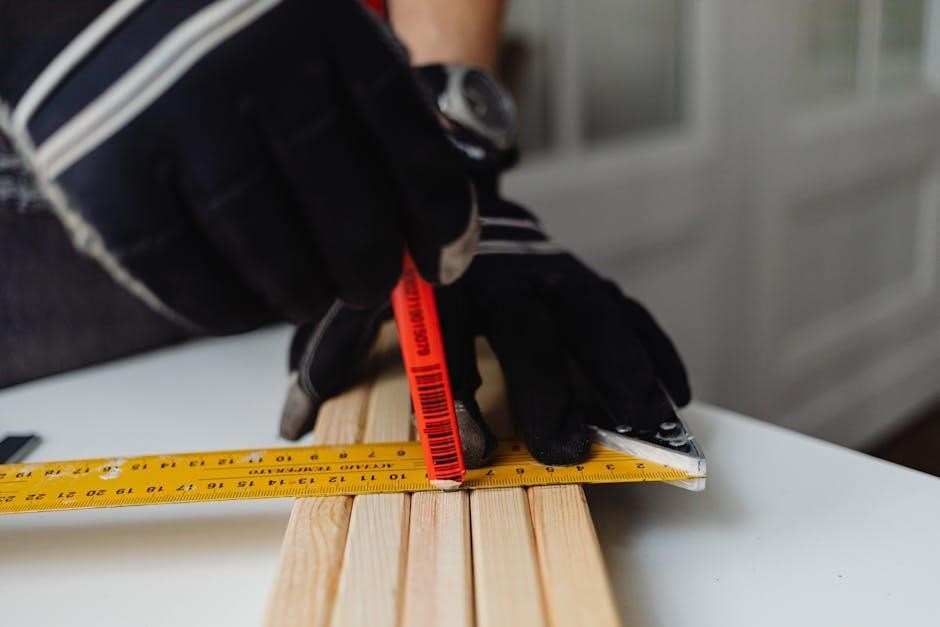
Preparing the Wood and Cutting to Size
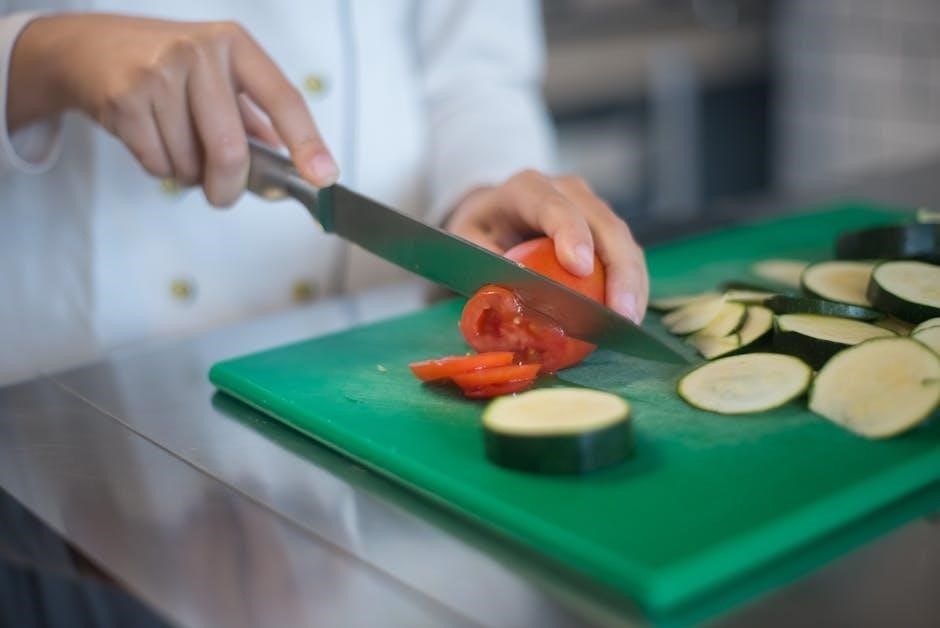
Begin by selecting high-quality‚ food-safe wood‚ such as maple or cherry‚ ensuring it is dry and free of defects. Plan the wood to achieve uniform thickness‚ then rip it to the desired width using a table saw or circular saw. Cut the wood to the final length‚ ensuring precise measurements for your design. Sand all pieces to smooth out any rough edges or surfaces. Accurate cutting and preparation are crucial for a professional finish and proper fit during assembly. Always wear safety gear‚ like safety glasses‚ when working with power tools.
Assembling and Gluing the Cutting Board
Lay out the wood pieces in your desired pattern‚ ensuring proper alignment and spacing. Apply a thin‚ even layer of food-safe wood glue to the surfaces being joined. Use clamps to secure the pieces tightly‚ applying consistent pressure to avoid warping or uneven bonding; Allow the glue to dry completely‚ typically 24 hours‚ before handling the board. Ensure all edges are flush and the surface is flat for a professional finish. Proper assembly and gluing are critical for creating a stable and durable cutting board that will withstand daily use.

Finishing and Maintenance Tips
Apply mineral oil and wax for durability‚ ensuring a food-safe finish. Regularly clean with mild soap and dry thoroughly. Store in a dry place to prevent warping and cracks.
Applying Mineral Oil and Wax for Durability
For a durable finish‚ apply food-safe mineral oil to your cutting board‚ ensuring even coverage. Let it absorb fully before wiped off. Repeat monthly to maintain protection. For added durability‚ apply a thin layer of food-safe wax‚ such as beeswax or carnauba wax‚ after oiling. This creates a hydrophobic surface‚ repelling moisture and extending the board’s lifespan. Always use clean‚ lint-free cloths for application‚ working in the direction of the wood grain for optimal results. Proper finishing enhances the board’s functionality and keeps it looking its best for years to come.
Best Practices for Cleaning and Storing

Regular maintenance ensures your cutting board remains hygienic and durable. After use‚ clean with mild soap and warm water‚ avoiding harsh chemicals or abrasive scrubbers. Sanitize with a vinegar solution (1:1 water and white vinegar) for added safety. Dry thoroughly with a clean towel and store upright to prevent moisture accumulation. Avoid submerging in water or leaving in direct sunlight. Periodically apply mineral oil to maintain the wood’s condition. For long-term storage‚ keep the board in a dry place‚ away from extreme temperatures. Proper care extends the lifespan of your cutting board‚ ensuring it remains a reliable kitchen tool.
Free PDF Plans and Resources
Explore a variety of free PDF plans and resources online‚ offering detailed designs for cutting boards. Websites like The Spruce Crafts and Instructables provide downloadable templates and guides.
Where to Find Free Cutting Board Plans Online
Discover a wide range of free cutting board plans online through platforms like The Spruce Crafts‚ Instructables‚ and woodworking forums. Websites such as The Free Woodworking Plans and Projects Resource and SawmillCreek.org offer detailed PDF guides for various designs‚ including end-grain and 3D patterns. Additionally‚ creators like Ron Jones and Marc Spagnuolo provide downloadable plans and SketchUp models for intricate designs. These resources are perfect for beginners and experienced woodworkers alike‚ offering step-by-step instructions and customizable templates to create functional and stylish cutting boards.
Downloading and Using SketchUp Models
Enhance your cutting board projects with downloadable SketchUp models‚ available for free or purchase online. These 3D models provide detailed designs‚ perfect for visualizing your project before construction. Creators like Ron Jones and Marc Spagnuolo offer models for intricate patterns‚ such as 3D tumbling block designs. Simply download the SKP files and use SketchUp software to explore and modify the designs. These models are ideal for precision cutting and assembly‚ ensuring your cutting board turns out exactly as planned. Pair them with PDF plans for a comprehensive guide to building your custom cutting board.
Tips for Beginners
Start with simple designs and gradually experiment with intricate patterns. Choose closed-grain wood for durability and easy maintenance. Always sand thoroughly and apply mineral oil for protection. Keep your workspace clean and follow plans closely for best results.
Common Mistakes to Avoid
When making cutting boards‚ avoid using open-grain woods like oak‚ as they can trap bacteria. Ensure proper wood preparation and alignment during assembly to prevent warping. Sand thoroughly to avoid splinters and apply mineral oil evenly for durability. Do not skip drying times between coats of oil. Keep plans clear and follow instructions carefully to maintain accuracy. Avoid over-tightening clamps‚ which can cause uneven pressure. Properly store your cutting board to prevent cracking or fading. Regular cleaning and oiling will extend its lifespan and maintain its appearance.
Troubleshooting Common Issues
Common issues when making cutting boards include warping due to uneven drying‚ cracks from improper assembly‚ and uneven finishes. To fix warping‚ ensure all wood pieces are properly dried and clamped evenly. For cracks‚ apply wood glue and clamp tightly before sanding. If the finish is uneven‚ lightly sand and reapply mineral oil. Avoid using too much oil‚ as it can pool on the surface. For mineral oil not absorbing‚ buff the board with a clean cloth to remove excess. Addressing these issues early ensures a durable and long-lasting cutting board. Regular maintenance will also prevent future problems.
Advanced Techniques and Customization
Elevate your cutting board project with unique patterns‚ mixed wood types‚ and personalized touches. Advanced techniques allow for intricate designs‚ creating functional and artistic kitchen essentials that stand out.
Creating Unique Patterns and Designs
Unleash your creativity by crafting cutting boards with distinctive patterns and designs. Mix wood species for vibrant contrasts or try 3D effects like tumbling blocks for visual appeal. End-grain constructions offer stunning natural patterns‚ while edge-grain designs provide a sleek‚ modern look. For intricate details‚ use stencils or laser-cut templates. Personalize your project with engravings or inlays to make it truly unique. These techniques ensure your cutting board stands out as both a functional tool and a beautiful kitchen accessory. Explore free PDF plans for inspiration and step-by-step guides to master these creative methods.
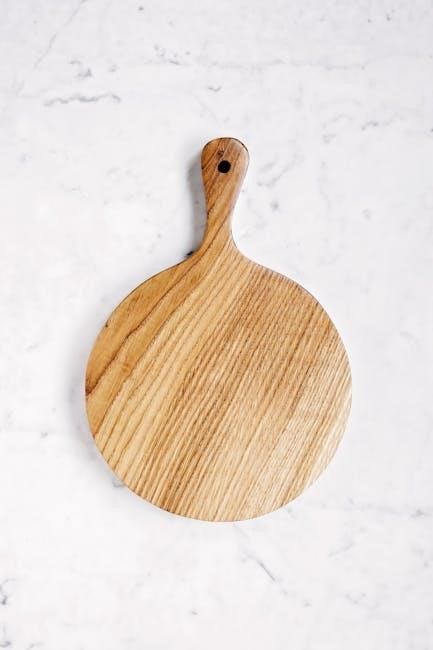
Adding Personalized Touches
Elevate your cutting board project by adding personalized touches that make it truly special. Engrave names‚ initials‚ or meaningful dates for a unique gift or personal keepsake. Incorporate mixed wood species to create striking patterns or use inlays for decorative accents. Consider adding a custom shape or handle for functionality and style. Finishing with mineral oil and wax enhances the wood’s natural beauty while protecting it. These personal touches transform a simple cutting board into a heartfelt‚ one-of-a-kind creation‚ perfect for gifting or adding a personal flair to your kitchen. Use free PDF plans to explore creative ways to customize your design.
Creating your own cutting board is a rewarding project that combines creativity with functionality. With free PDF plans‚ you can craft a durable‚ personalized kitchen essential that lasts.
The Benefits of Building Your Own Cutting Board
Building your own cutting board offers numerous benefits‚ including customization‚ cost-effectiveness‚ and the satisfaction of creating something functional. You can choose materials and designs that suit your kitchen style‚ ensuring durability and personalization. Homemade cutting boards often outlast store-bought options‚ as they are crafted with care and high-quality wood. Additionally‚ they make thoughtful gifts‚ showcasing your woodworking skills. The process also allows for learning new techniques‚ enhancing your DIY capabilities‚ and gaining a sense of accomplishment. Overall‚ it’s a practical and rewarding project for any woodworking enthusiast.